
How to Care for Indoor Plants: A Practical Guide for Australian Homes
Walk through any home improvement store and you’ll find trays of beautiful indoor plants. Walk back past those same plants a month later and half of them look like they’re struggling. It’s not because indoor plants are difficult. It’s because most people start with the wrong information.
The advice that gets repeated most — “water once a week,” “put it near a window,” “mist the leaves” — is vague enough to be almost useless. What actually keeps an indoor plant alive is understanding a handful of specific things: how much light your space provides, how your particular plant likes to be watered, and what warning signs to watch for before problems become serious.
This guide covers all of it. Written for Australian homes and conditions, from a team that has been growing and selling plants for more than 20 years.
1. Get the Light Right First
Light is the one variable you can’t easily compensate for. You can adjust watering, change fertiliser, improve humidity — but if a plant that needs bright light is sitting in a dim corner, it will slowly decline regardless of everything else you do.
Before buying any indoor plant, work out what your space actually offers.
How to read your light honestly
Most people overestimate how much light their rooms get. A room that feels bright and pleasant to sit in often provides far less light than a plant needs. The useful test: hold your hand about 30 cm above a white piece of paper in the spot you’re considering. A sharp, clear shadow means bright light. A soft, slightly blurry shadow means medium light. No visible shadow means low light.
What grows where
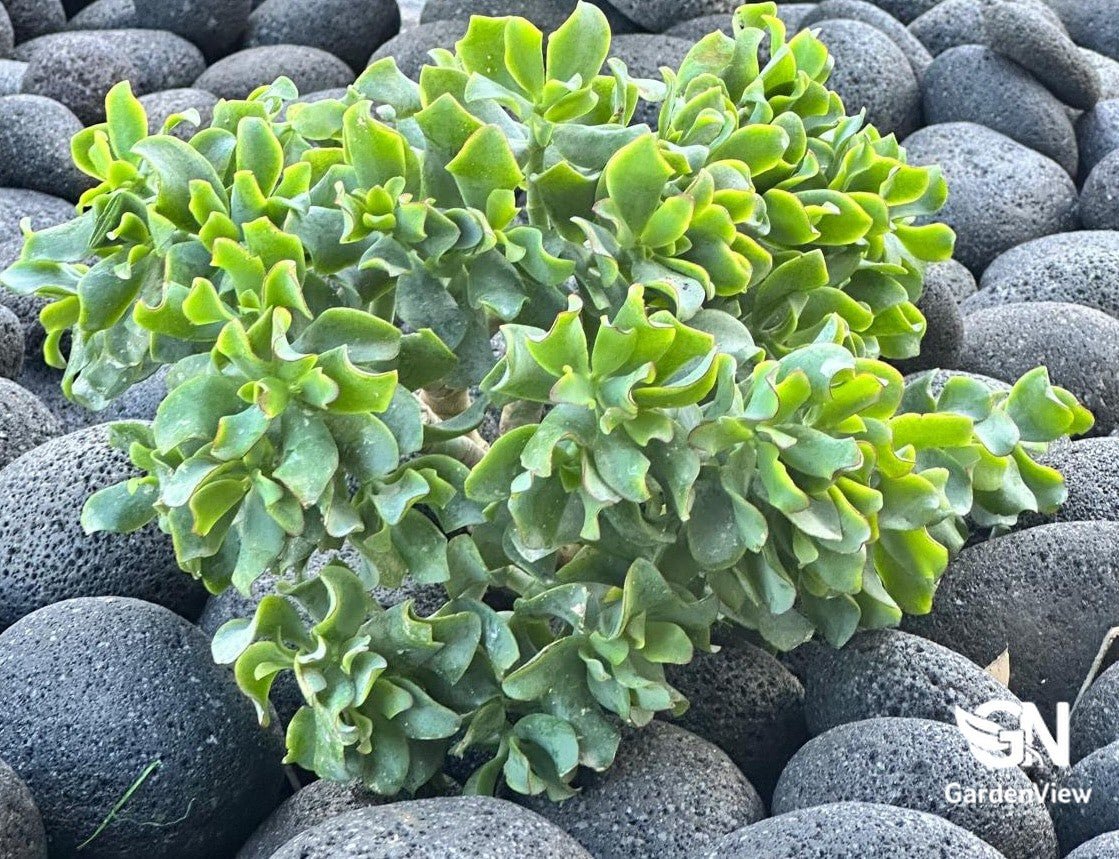
• Bright indirect light (near a north or east-facing window, out of direct sun): Monstera, fiddle leaf fig, bird of paradise, most calatheas, string of pearls, rubber plant. These plants need reasonable light to stay healthy and produce new growth.
• Medium light (a few metres from a window, or near a south or west-facing window): Philodendrons, pothos, peace lily, parlour palm, snake plant. Versatile plants that adapt well to typical Australian living rooms.
• Low light (away from windows, internal rooms): ZZ plant, cast iron plant, devil’s ivy, Chinese evergreen. These genuinely tolerate dim conditions — they’re not just being optimistic on the label.
Direct sun indoors
A few plants actively want direct sun through a window: cacti, succulents, aloe, and most culinary herbs. Most other indoor plants find direct sun through glass too harsh — it can scorch leaves faster than direct outdoor sun because the glass intensifies heat.
If a plant starts leaning toward the light, or new leaves are coming in noticeably smaller than older ones, it needs more light than it’s getting. Rotate the pot a quarter turn every few weeks to keep growth even.
2. Watering: The Thing Most People Get Wrong
Overwatering kills more indoor plants than any other cause. It’s not usually from watering too frequently in isolation — it’s from watering frequently without letting the soil dry out in between, combined with pots that don’t drain properly.
The roots need both moisture and oxygen. Soil that stays constantly wet pushes out the air and the roots suffocate. The plant starts looking wilted even though the soil is wet, leaves yellow, and eventually rot sets in from the bottom of the pot up.
The only watering rule you need
Check the soil before you water, not the calendar. Push your finger into the soil about two centimetres. If it’s still damp, wait. If it’s dry at that depth, water thoroughly — enough that water runs freely from the drainage holes.
Different plants, different needs
• Succulents and cacti: Let the soil dry out completely between waterings. In winter, once a month is often enough.
• Tropical foliage plants (monstera, philodendron, pothos): Water when the top two centimetres are dry. Usually every 7–10 days in summer, less in winter.
• Ferns and calatheas: These prefer consistently moist (not wet) soil. More frequent, lighter waterings work better than occasional deep soaks.
• Snake plant and ZZ plant: Almost indestructible. Water sparingly — once every two to three weeks in summer, monthly in winter.
Drainage is non-negotiable
Every pot needs a drainage hole. Decorative pots without holes are fine as cachepots — place your plant in a plain nursery pot with drainage inside, and lift it out to water. Never let a pot sit in water for more than an hour after watering, or the roots will start to rot.
Tap water is fine for most plants. If you notice white crust building up on the soil surface or around the pot rim, that’s mineral deposit from hard water. Flush the soil thoroughly every few months to clear it.
3. Choosing the Right Potting Mix
Garden soil from outside doesn’t work indoors. It compacts in pots, drains poorly, and can introduce pests and disease. A quality indoor potting mix is formulated to stay loose and drain freely even after repeated watering — which is exactly what you need.
Matching mix to plant
• General indoor plants: A premium potting mix labelled for indoor use. Look for one with perlite or coarse sand in the blend for drainage.
• Succulents and cacti: A dedicated succulent and cactus mix, or a standard mix with a third extra perlite added. These plants need very fast-draining soil.
• Orchids: Orchid bark or a specific orchid mix. Orchids grow in bark in nature, not soil — standard potting mix will rot their roots.
• Ferns: A mix with higher organic content and good moisture retention. Adding a small amount of coco coir helps.
Refresh the mix regularly
Potting mix breaks down over time, losing its structure and becoming compacted and hydrophobic — repelling water rather than absorbing it. Repot into fresh mix every one to two years, even if the plant doesn’t need a bigger pot.
4. Understanding Humidity
Most popular indoor plants come from tropical or subtropical environments where humidity is considerably higher than the inside of a typical Australian home — particularly in air-conditioned or heated spaces, which can get very dry.
Low humidity shows up as brown, crispy leaf tips and edges. It’s often mistaken for underwatering, but watering more won’t fix it if the air is too dry.
How to increase humidity
• Group plants together. Plants transpire moisture from their leaves, so grouping them raises the local humidity around the group.
• Place pots on a tray of pebbles with water sitting just below the base of the pot. As the water evaporates it raises humidity around the plant without wetting the roots.
• A small humidifier near your plants works well for a dedicated plant area or a room with several humidity-loving species.
• Bathrooms and kitchens naturally have higher humidity. Peace lilies, ferns, and calatheas do well in these rooms if the light is adequate.
About misting
Misting is often recommended but it’s not particularly effective. It raises humidity for about twenty minutes and then the effect is gone. It also encourages fungal issues on plants with dense foliage if the leaves stay wet. Stick to the other methods above.
Plants that are particularly sensitive to low humidity: maidenhair fern, calathea, alocasia, and most orchids. Plants that handle dry air well: snake plant, ZZ plant, succulents, rubber plant, and pothos.
5. Feeding Indoor Plants
Indoor plants don’t have access to the nutrient cycle that garden soil provides — fallen leaves, organic matter breaking down, microbes replenishing the soil. In a pot, nutrients deplete over time and need to be replaced.
That said, overfeeding is a more common problem than underfeeding, particularly for beginners. Too much fertiliser, especially nitrogen, produces soft, weak growth and can burn roots.
When to feed
Feed during the growing season: September through to March for most Australian indoor plants. Cut back significantly or stop altogether from April to August when growth slows.
What to use
• Liquid fertiliser: Applied during watering, takes effect quickly. Dilute to half the recommended strength and apply every four weeks during the growing season. Easier to control than granular options.
• Slow-release granules: Applied once every three to six months. Less risk of overfeeding. A good choice if you’d rather not think about it regularly.
• Specific formulations: Orchid fertiliser for orchids, cactus fertiliser for succulents and cacti. Using the right product makes a difference.
Signs of nutrient deficiency
Pale, yellowing leaves on a plant that’s otherwise well-watered and lit usually means it needs feeding. New growth that’s significantly smaller or paler than older leaves is another indicator. Start with a liquid fertiliser at half strength and see how the plant responds over four to six weeks.
Don’t feed a stressed or recently repotted plant. Feed only healthy plants that are actively growing — fertiliser is a supplement, not a remedy.
6. Repotting: When and How
Plants need repotting when they outgrow their current pot — roots start emerging from the drainage holes, the plant dries out very quickly after watering, or growth slows noticeably despite good conditions.
Most indoor plants need repotting every one to two years. Some slower growers — snake plants, ZZ plants, cast iron plants — can go much longer.
Choosing the right pot size
Go up one size at a time. A pot that’s 4–5 cm wider than the current one is the right step. Jumping to a much larger pot is a common mistake — all that extra soil stays wet long after the plant has used the moisture near the roots, which promotes root rot.
How to repot
• Water the plant a day before repotting. It makes the root ball easier to remove and reduces stress.
• Gently ease the plant from its pot. If it’s stuck, run a knife around the inside edge or squeeze a plastic pot to loosen it.
• Shake off some of the old potting mix and inspect the roots. Trim any that are black, soft, or clearly rotted.
• Place fresh potting mix in the base of the new pot, sit the plant in at the same depth it was growing before, and fill around the sides.
• Water lightly after repotting and keep the plant out of direct sun for a week or two while it settles.
Spring is the best time to repot — plants are entering the growing season and recover quickly. Avoid repotting in winter when growth is slow.
7. Common Pests and What to Do About Them
Even well-cared-for indoor plants get pests occasionally. Most are easily managed if caught early. The key is to check your plants regularly rather than waiting until damage is obvious.
The most common indoor plant pests
• Fungus gnats: Tiny flies hovering around the soil surface. The adults are harmless but the larvae live in moist soil and damage roots. Let the top few centimetres of soil dry out between watering — that alone breaks the breeding cycle. Yellow sticky traps catch the adults.
• Mealybugs: White, cotton-like clusters in leaf joints and along stems. Wipe off with a cotton bud dipped in isopropyl alcohol. For heavy infestations, use a neem oil spray.
• Scale: Brown, flat, shell-like bumps on stems and leaf undersides. Scrape off with a soft toothbrush or fingernail. Follow up with a neem oil treatment over several weeks.
• Spider mites: Tiny dots on leaf undersides, often with fine webbing. They thrive in hot, dry conditions. Increase humidity and treat with insecticidal soap or neem oil spray.
• Thrips: Silvery streaking and distortion on new leaves. Treat with insecticidal soap, removing badly damaged leaves first.
General approach
Isolate any plant you suspect has pests as soon as you notice a problem. Check every other plant in the house carefully. Treat the affected plant, wait two weeks, treat again. Most pests take multiple treatment cycles to fully eliminate because eggs survive the first round.
New plants from any source can bring pests into your home. Quarantine new additions for two weeks before placing them with your other plants — it takes a little patience but it’s worth it.
8. Reading What Your Plant Is Telling You
Most plant problems show up in the leaves before they become serious. Learning to read the signs early makes a real difference.
Yellowing leaves
The most common symptom, with many possible causes. Start with the most likely: overwatering and poor drainage. If the soil is staying wet, that’s almost certainly the issue. If drainage is fine, consider low light, nutrient deficiency, or natural ageing — lower leaves on many plants yellow and drop as the plant matures, and that’s normal.
Brown leaf tips and edges
Usually humidity or inconsistent watering. If the air is dry and the plant is a tropical species, raise humidity first. If it’s happening on a plant that tolerates dry air, check your watering pattern — allowing the soil to dry out too severely between watering causes the same symptom.
Drooping leaves
Can be either under watering or over watering — which sounds unhelpful but they look different on inspection. Under watered soil is bone dry and the pot feels very light. Over watered soil is wet and the pot feels heavy. Adjust accordingly.
Leggy, stretched growth
The plant is reaching for light. Move it somewhere brighter or supplement with a grow light.
Leaves losing variegation
Variegated plants — those with white or yellow patterning — revert to plain green when they don’t get enough light. Move to a brighter spot and the variegation should return on new growth.
Don’t panic at the first sign of a problem. Most plants are more resilient than they look. Identify the likely cause, make one change, and give it two to four weeks to respond before changing something else.
9. The Best Indoor Plants for Australian Homes
Not everything works indoors, and some of the most popular options are also the most demanding. Here are plants that reliably perform well in Australian homes across a range of conditions.
Hard to kill (genuinely)
• ZZ plant (Zamioculcas zamiifolia): Handles low light, infrequent watering, and neglect. One of the most forgiving indoor plants available.
• Snake plant (Sansevieria): Tolerates low light and dry air. Needs almost no attention. Good in bedrooms and offices.
• Pothos (Epipremnum aureum): Fast-growing, tolerates low light, recovers quickly from underwatering. An excellent first plant.
• Cast iron plant (Aspidistra): Lives up to its name. Handles dim light, temperature fluctuations, and infrequent watering without complaint.
Popular and manageable with basic care
• Peace lily (Spathiphyllum): Tolerates low light, flowers periodically, and wilts dramatically when thirsty — then recovers fully after watering. One of the few indoor plants that clearly communicates when it needs water.
• Rubber plant (Ficus elastica): Handles medium to bright light, low humidity, and infrequent watering. Grows into a striking large plant over time.
• Philodendrons: A large family with many varieties. Most tolerate medium light and irregular watering. Fast-growing and rewarding.
• Monstera deliciosa: Needs decent light and regular watering but rewards that care with dramatic, architectural growth.
For bathrooms and humid spaces
• Maidenhair fern: Stunning but demanding. Needs high humidity, consistent moisture, and indirect light. A bathroom with a window is often its best home.
• Calathea: Beautiful foliage but sensitive to low humidity and fluoride in tap water. Use filtered or rainwater if possible.
• Boston fern: Lush and fast-growing. Needs humidity and consistent moisture but otherwise straightforward.
If you’re new to indoor plants, start with one from the first category. Get comfortable with how it behaves before moving on to more demanding species. There’s no prize for starting with the hardest option.
10. Seasonal Care Through the Year
Indoor plants don’t experience seasons the way outdoor plants do — but Australian homes do. Air conditioning in summer, heating in winter, and changing light angles all affect how your plants behave.
Summer
Growth picks up. Water more frequently, resume feeding if you stopped for winter, and watch for pests — warm conditions and faster growth attract them. Keep plants away from air conditioning vents, which dry the air dramatically and can cause leaf burn on sensitive species.
Autumn
Growth begins to slow. Start reducing feeding frequency. Bring any plants that spent summer on a balcony or sheltered outdoor spot back inside before nights get cold.
Winter
Most indoor plants slow down or pause growth. Water less frequently, stop or significantly reduce fertilising, and avoid repotting. Check light levels — the sun sits lower in the sky and rooms that were bright in summer may be noticeably dimmer. Move plants closer to windows if needed.
Spring
The best time to repot, propagate, or take cuttings. Plants respond quickly to the increasing light and warmth. Resume regular feeding and check whether any plants have outgrown their pots over the past year.
Indoor Plants Don’t Have to Be Difficult
The reputation indoor plants have for being finicky is mostly down to one or two things being slightly off — usually light or watering. Get those right and most plants will look after themselves.
Start with something genuinely easy. Learn how it behaves over a few months. Then add more. The people with beautiful, thriving indoor plant collections didn’t start with twenty plants — they started with one or two, paid attention, and built from there.